Three stressful application sessions later, I have applied some colour to my Specialized Roubaix.
As I grumbled about here, the colour schemes on most bikes on the market this year seem to be going for a “Batman” dark, matte look. I tried to love it, but…
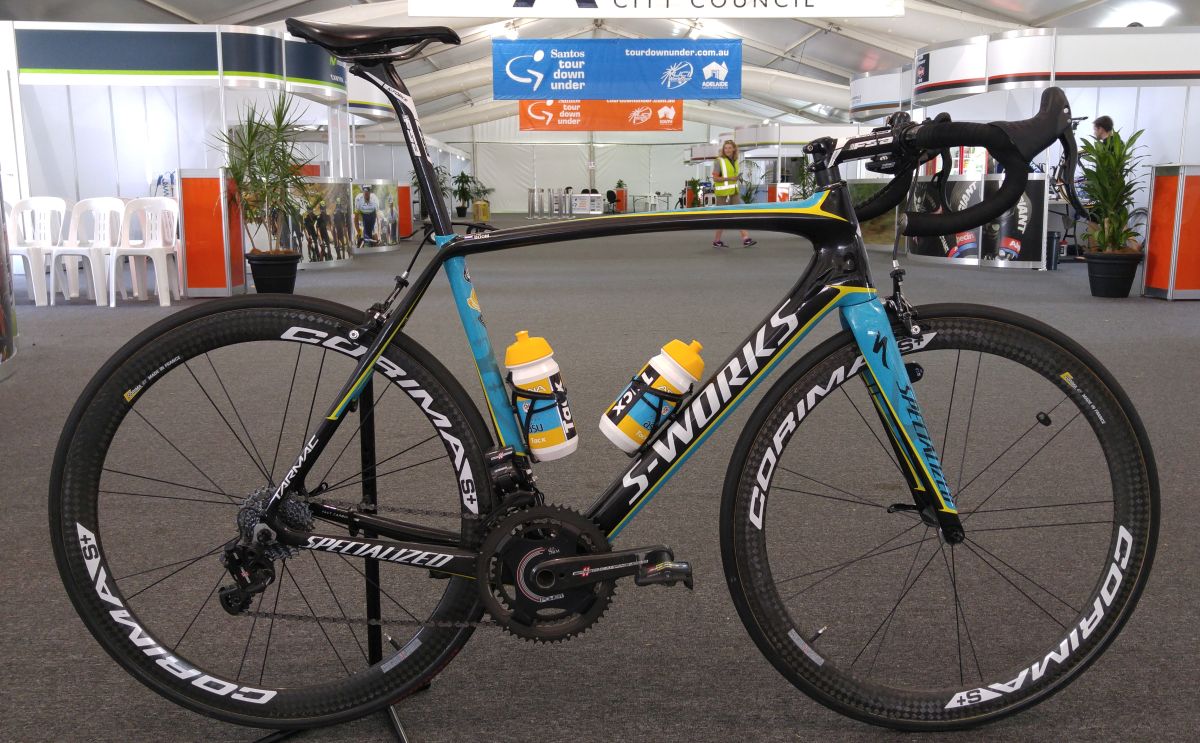
I started finding pictures like this one and thinking Damn, I want some colour.
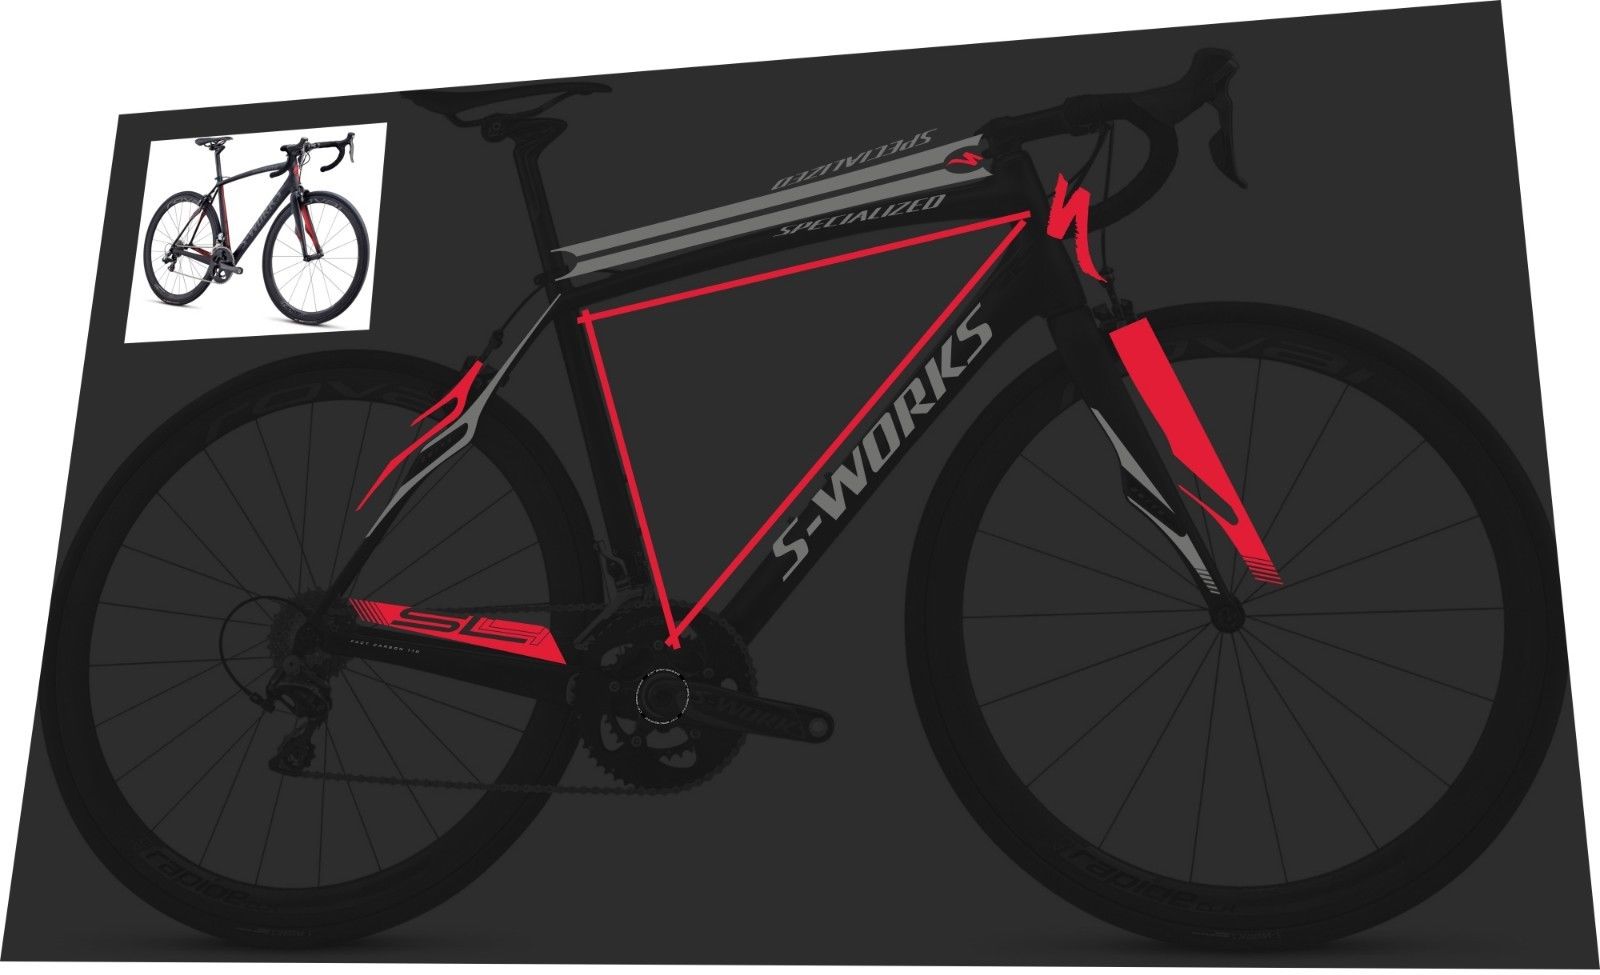
So I found a seller on eBay from Hungary who was selling graphics kits for a number of bikes, including the Roubaix.
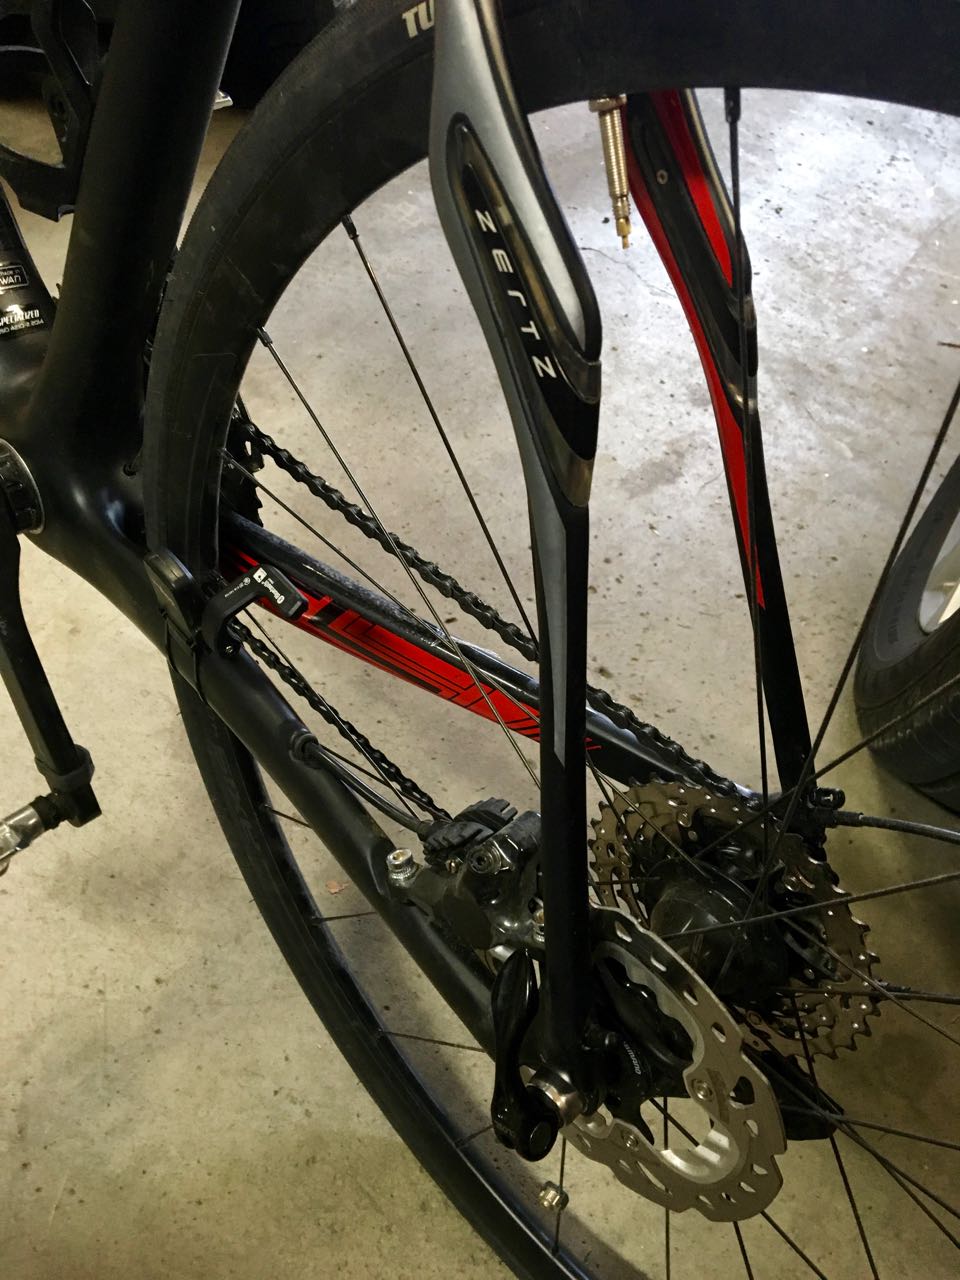
Tammy bought it for me for my birthday, and it arrived on Friday. I put on the inner-fork and inner-seat stay decals before the MEC ride (you can see them in the pictures), and now I’ve done some more.
I won’t apply most of them to the bike. Two of them I can’t: the S-Works decal would be
- Misleading, my bike is not one of the more expensive S-Works racing models and
- Impossible to apply over the existing “Specialized” graphic which is there on my bike.
Also, the red Specialized “S” for the front is the wrong size to overlay on the black S that came from the factory.
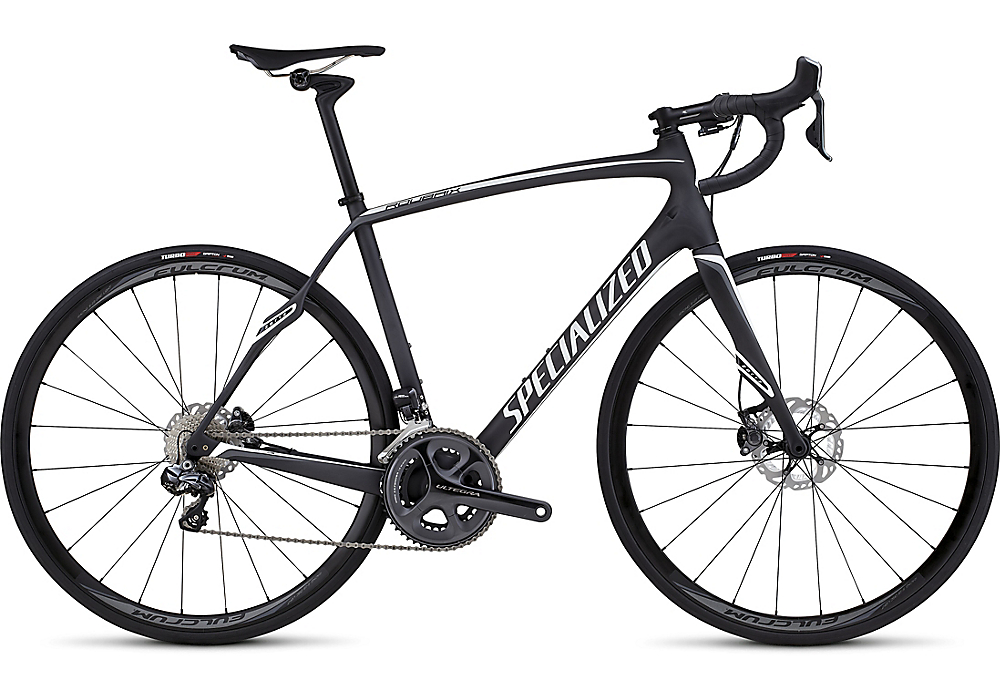
I might install the silver stripes and silver “Specialized” for the top tube someday, but for now I’m leaving them off. Same with the red stripe for inside the triangle. For today, I’m happy to have a subtle colour scheme, with some “flashes” of colour. Just enough to catch the eye, not so much as to dominate.
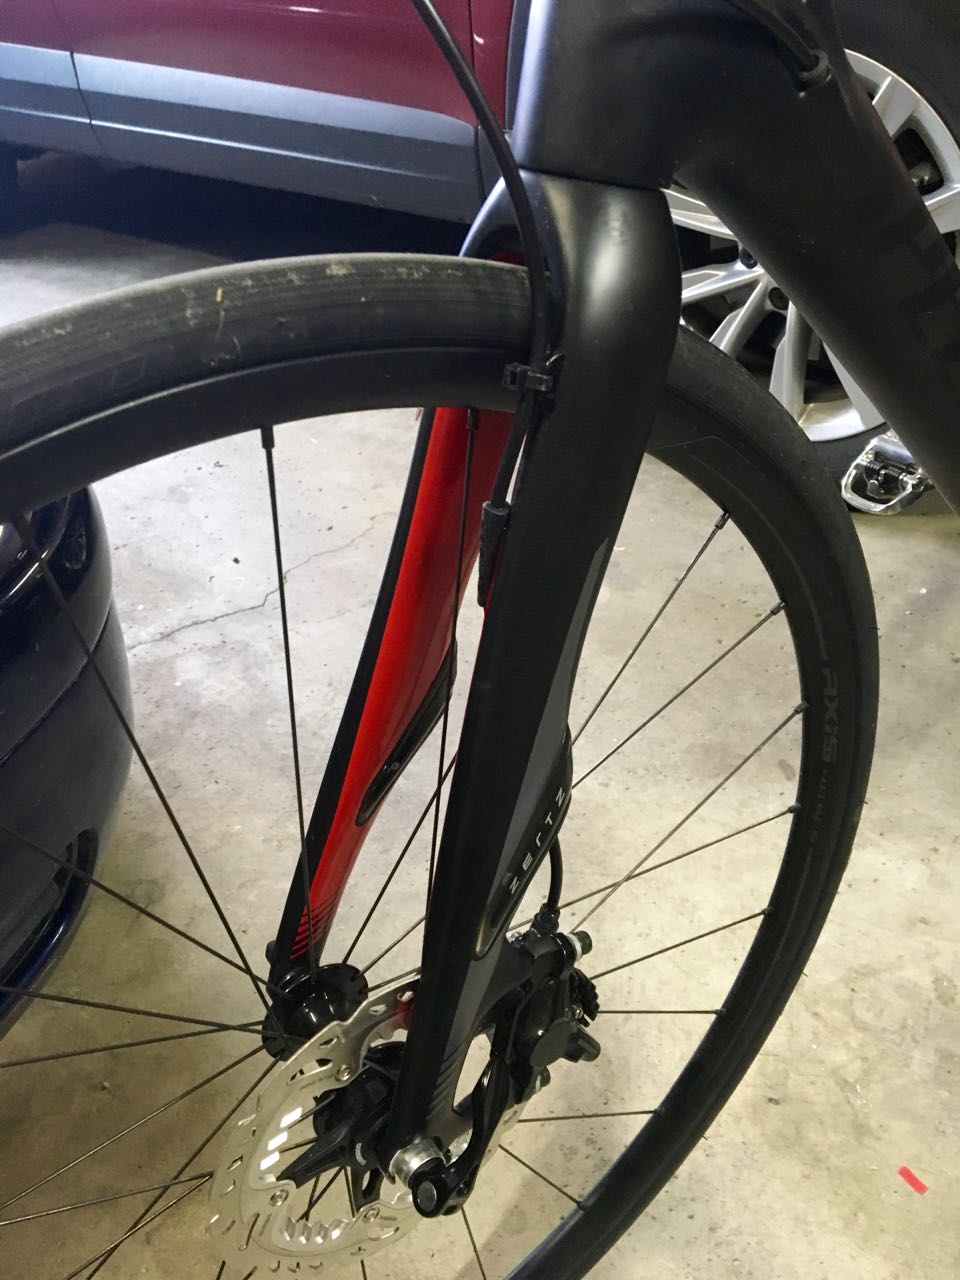
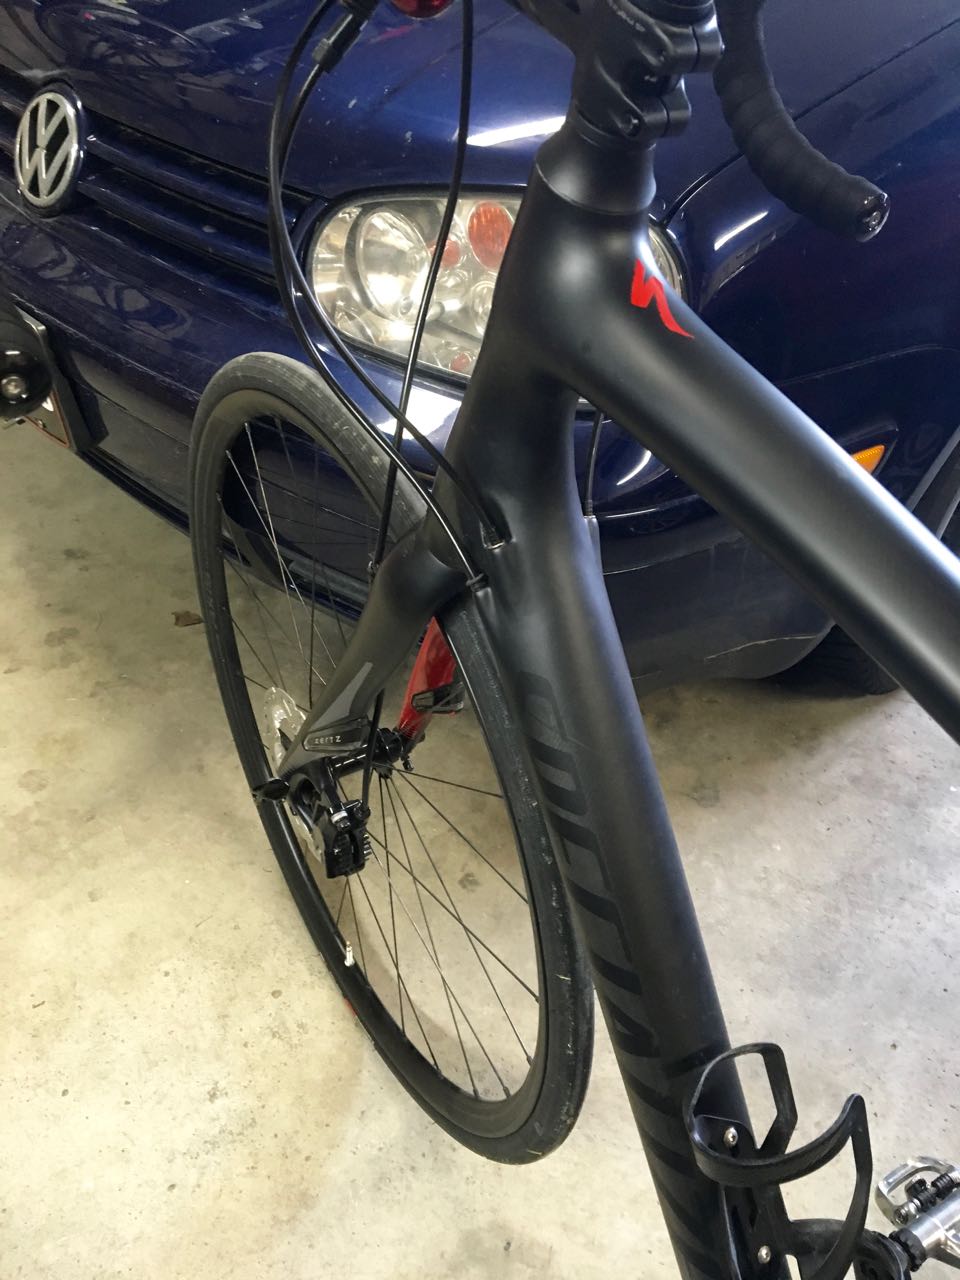
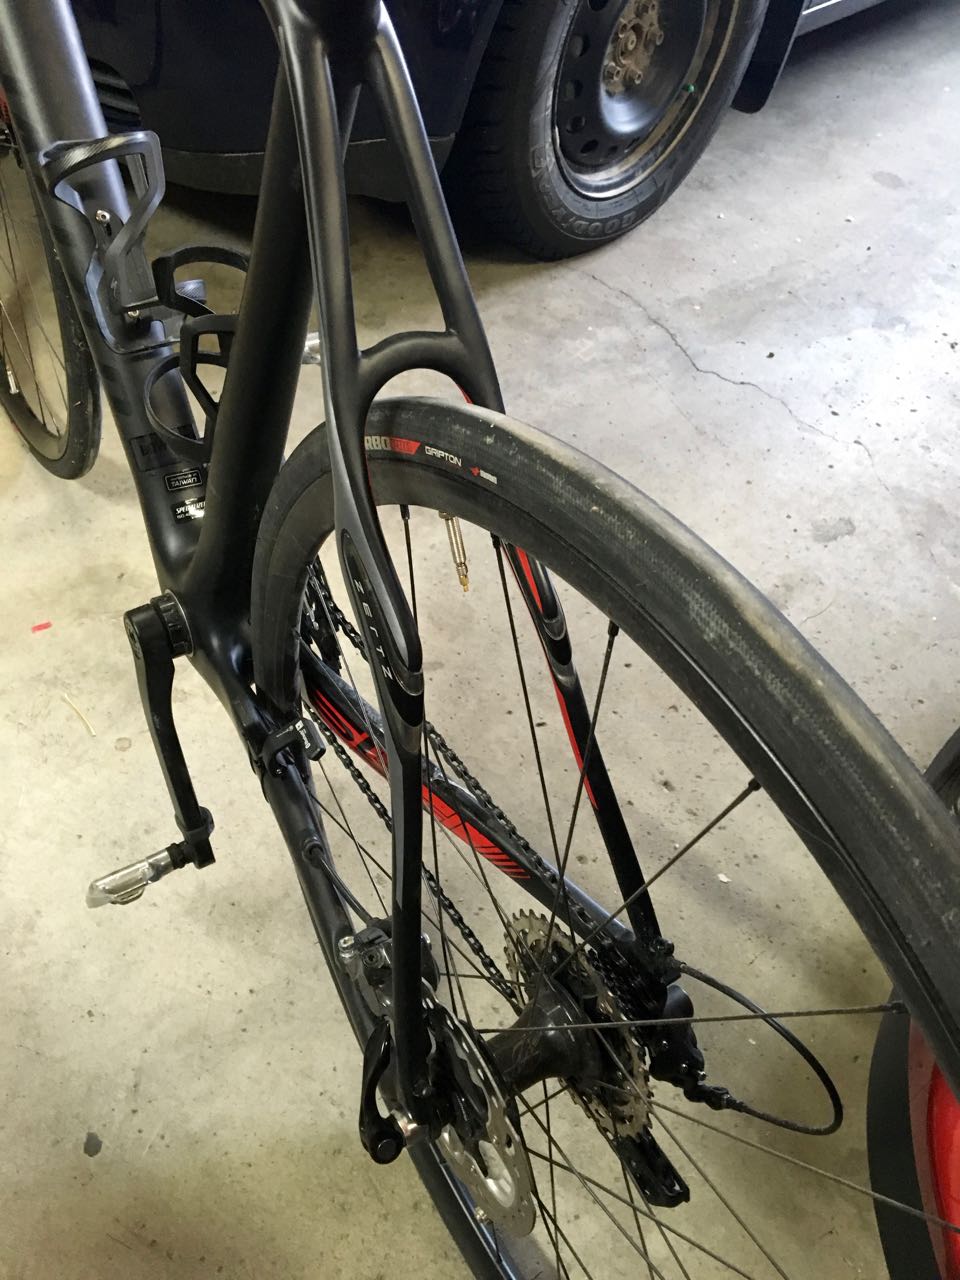
I used the same “wet application” technique that I used when I applied pinstriping to my Suzuki Burgman many moons ago. It allowed me to move the decals into position and then they stuck as I rubbed and the water dried. The most painful ones to apply were the ones I did first: inside the seat stays and fork. The inside curve at the tops was difficult to make the vinyl stretch and stick. I have now done some work with a razor to finesse it, which was stressful. The rest went on pretty easily. Given that they are decals and not embedded in the finish, it’s easy to see that they are aftermarket, but I think it improves the look of the bike a lot.
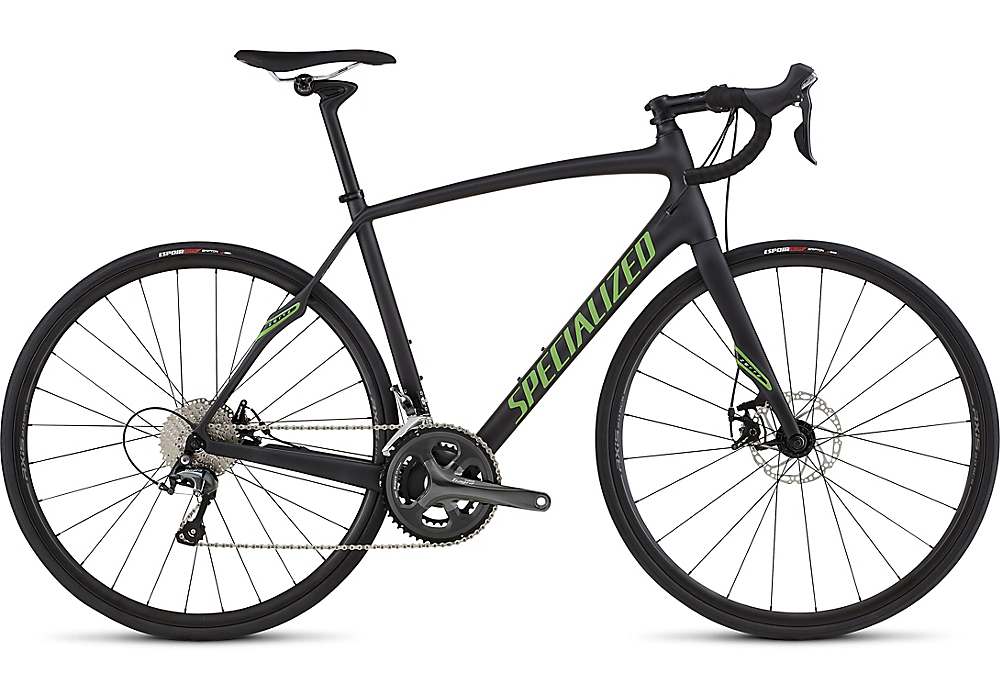
As I said to Tammy when I’d finished most of it: I really wish that there had been a factory option for some colours. I am happy with the finished product, and it wasn’t that expensive, but still it would have been nice to just buy it with some colour. The Roubaix is offered in different configurations from low end to high end, and each of them has a different colour scheme to differentiate it. The one I wanted: disc brakes with the Ultegra groupset, was the least colourful. But I didn’t feel like paying $2000 more for the step up:
Or sacrificing on the components to take a step down:
But will it go faster??? Graphics look good! Dad
You bet: the red ones are good for an extra 2-3 km/h on the top end. 😄
Looking good!!!
Thanks! I am happy with the results. I’m sure some would disapprove of my modifications, but they aren’t me. 😜
I took my bike to the club ride last night. The club Prez Mark was there and I showed him my bike and asked “What’s different about it?” He looked and looked. He went through all of the components on it, thinking I’d swapped something. Eventually I had to point it out.
After the ride, he had a closer look, and generally was very impressed. Especially the red inside the forks. He didn’t believe that I’d done it myself at first. The wet application technique allowed me to line the decals up perfectly straight. He summed it up as: in a few years, people will be looking at my bike and trying to figure out which year/model it is, because they can’t remember a combination with those graphics.
😀
Only we will know!!!! How much to keep quiet??